Arduino IDE安装与验证
-- softwbc 发布于:2022年03月30日 浏览量:912 |
一、Arduino IDE 配置
1、软件下载地址:https://www.arduino.cc/en/software
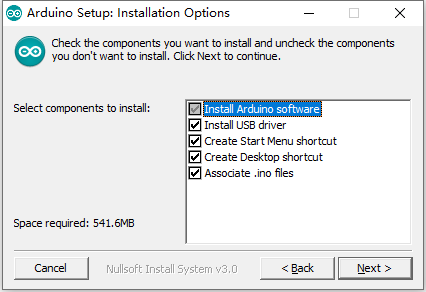
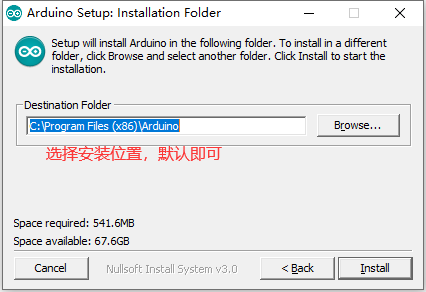
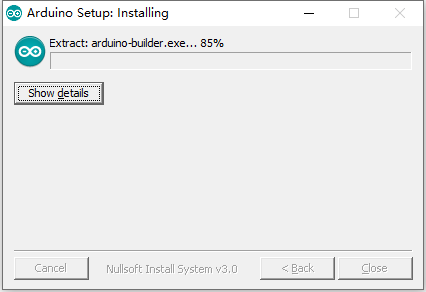
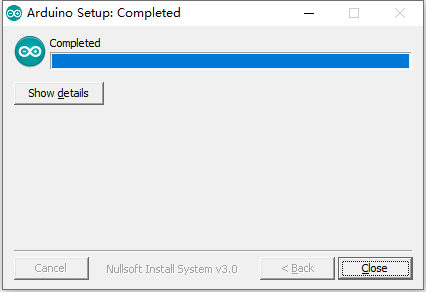
2、开始安装

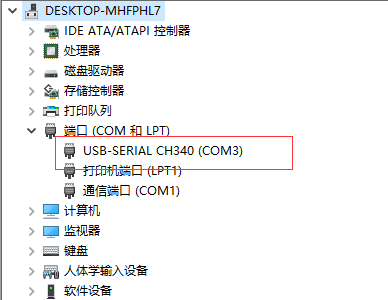
3、通过USB插入Arduino,查看COM端口号
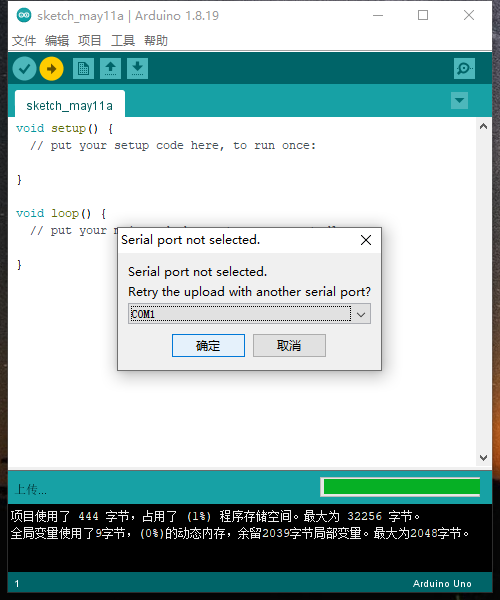
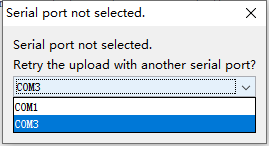
4、按上面的端口选择
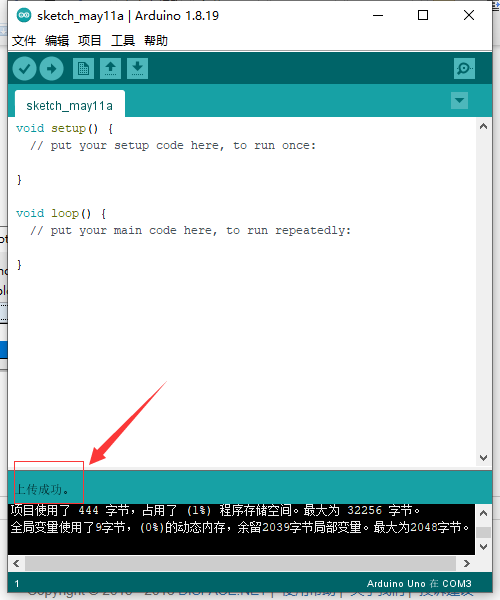
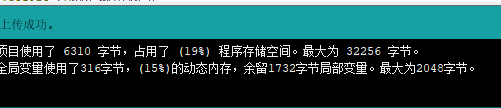
上传一段测试代码,以下是控制板上LED闪烁的测试代码:
// the setup function runs once when you press reset or power the board
void setup() {
  // initialize digital pin LED_BUILTIN as an output.
  pinMode(LED_BUILTIN, OUTPUT);
}
// the loop function runs over and over again forever
void loop() {
  digitalWrite(LED_BUILTIN, HIGH);   // turn the LED on (HIGH is the voltage level)
  delay(500);                       // wait for a second
  digitalWrite(LED_BUILTIN, LOW);    // turn the LED off by making the voltage LOW
  delay(500);                       // wait for a second
}
二、机器人固件安装:
1、固件引用库的安装方式如下:

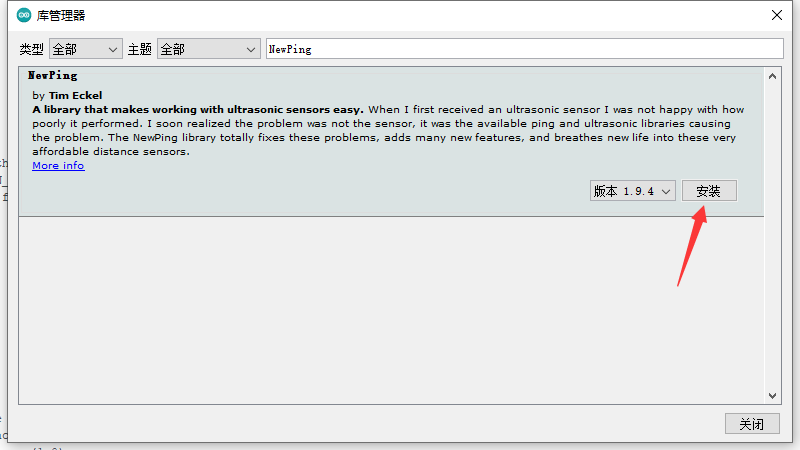
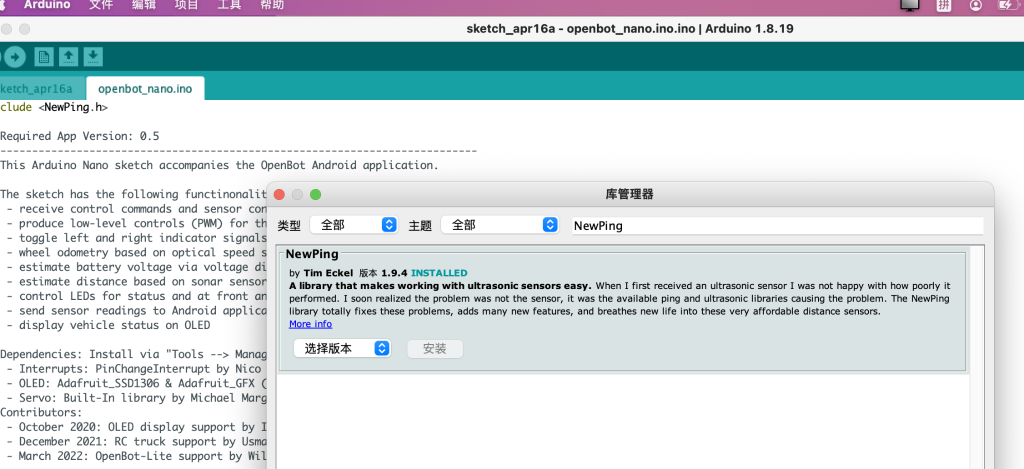
2、使用超声波模块,安装NewPing库
新建libraries目录,将下载的NewPing库解压到目录下;
方式一:
Put the "NewPing" folder in "libraries\".
In the Arduino IDE, create a new sketch (or open one) and select from the menubar "Sktech->Import Library->NewPing".
方式二:直接在项目--》加载库--〉管理里面 搜索点击安装;
三、遇到的问题及解决方法
问题:#include "PinChangeInterrupt.h":No such file or directory
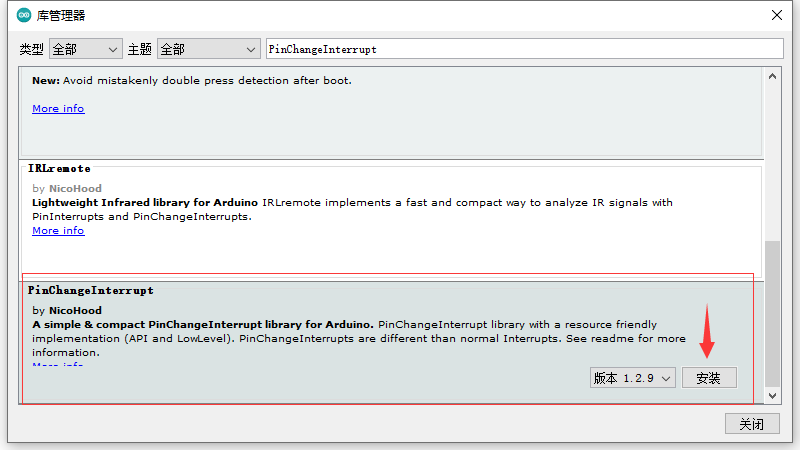
==